Mixing music in a home studio can be a really creative experience, but picking the right mixing plugins is where things get real for most people, including me. The sheer number of plugin options can feel overwhelming, especially if you’re just getting started. I’m going to walk you through the steps I use when picking mixing plugins, share the most important things to look out for, and offer practical tips from my own home studio experience.
Understanding What Mixing Plugins Do and Why They Matter
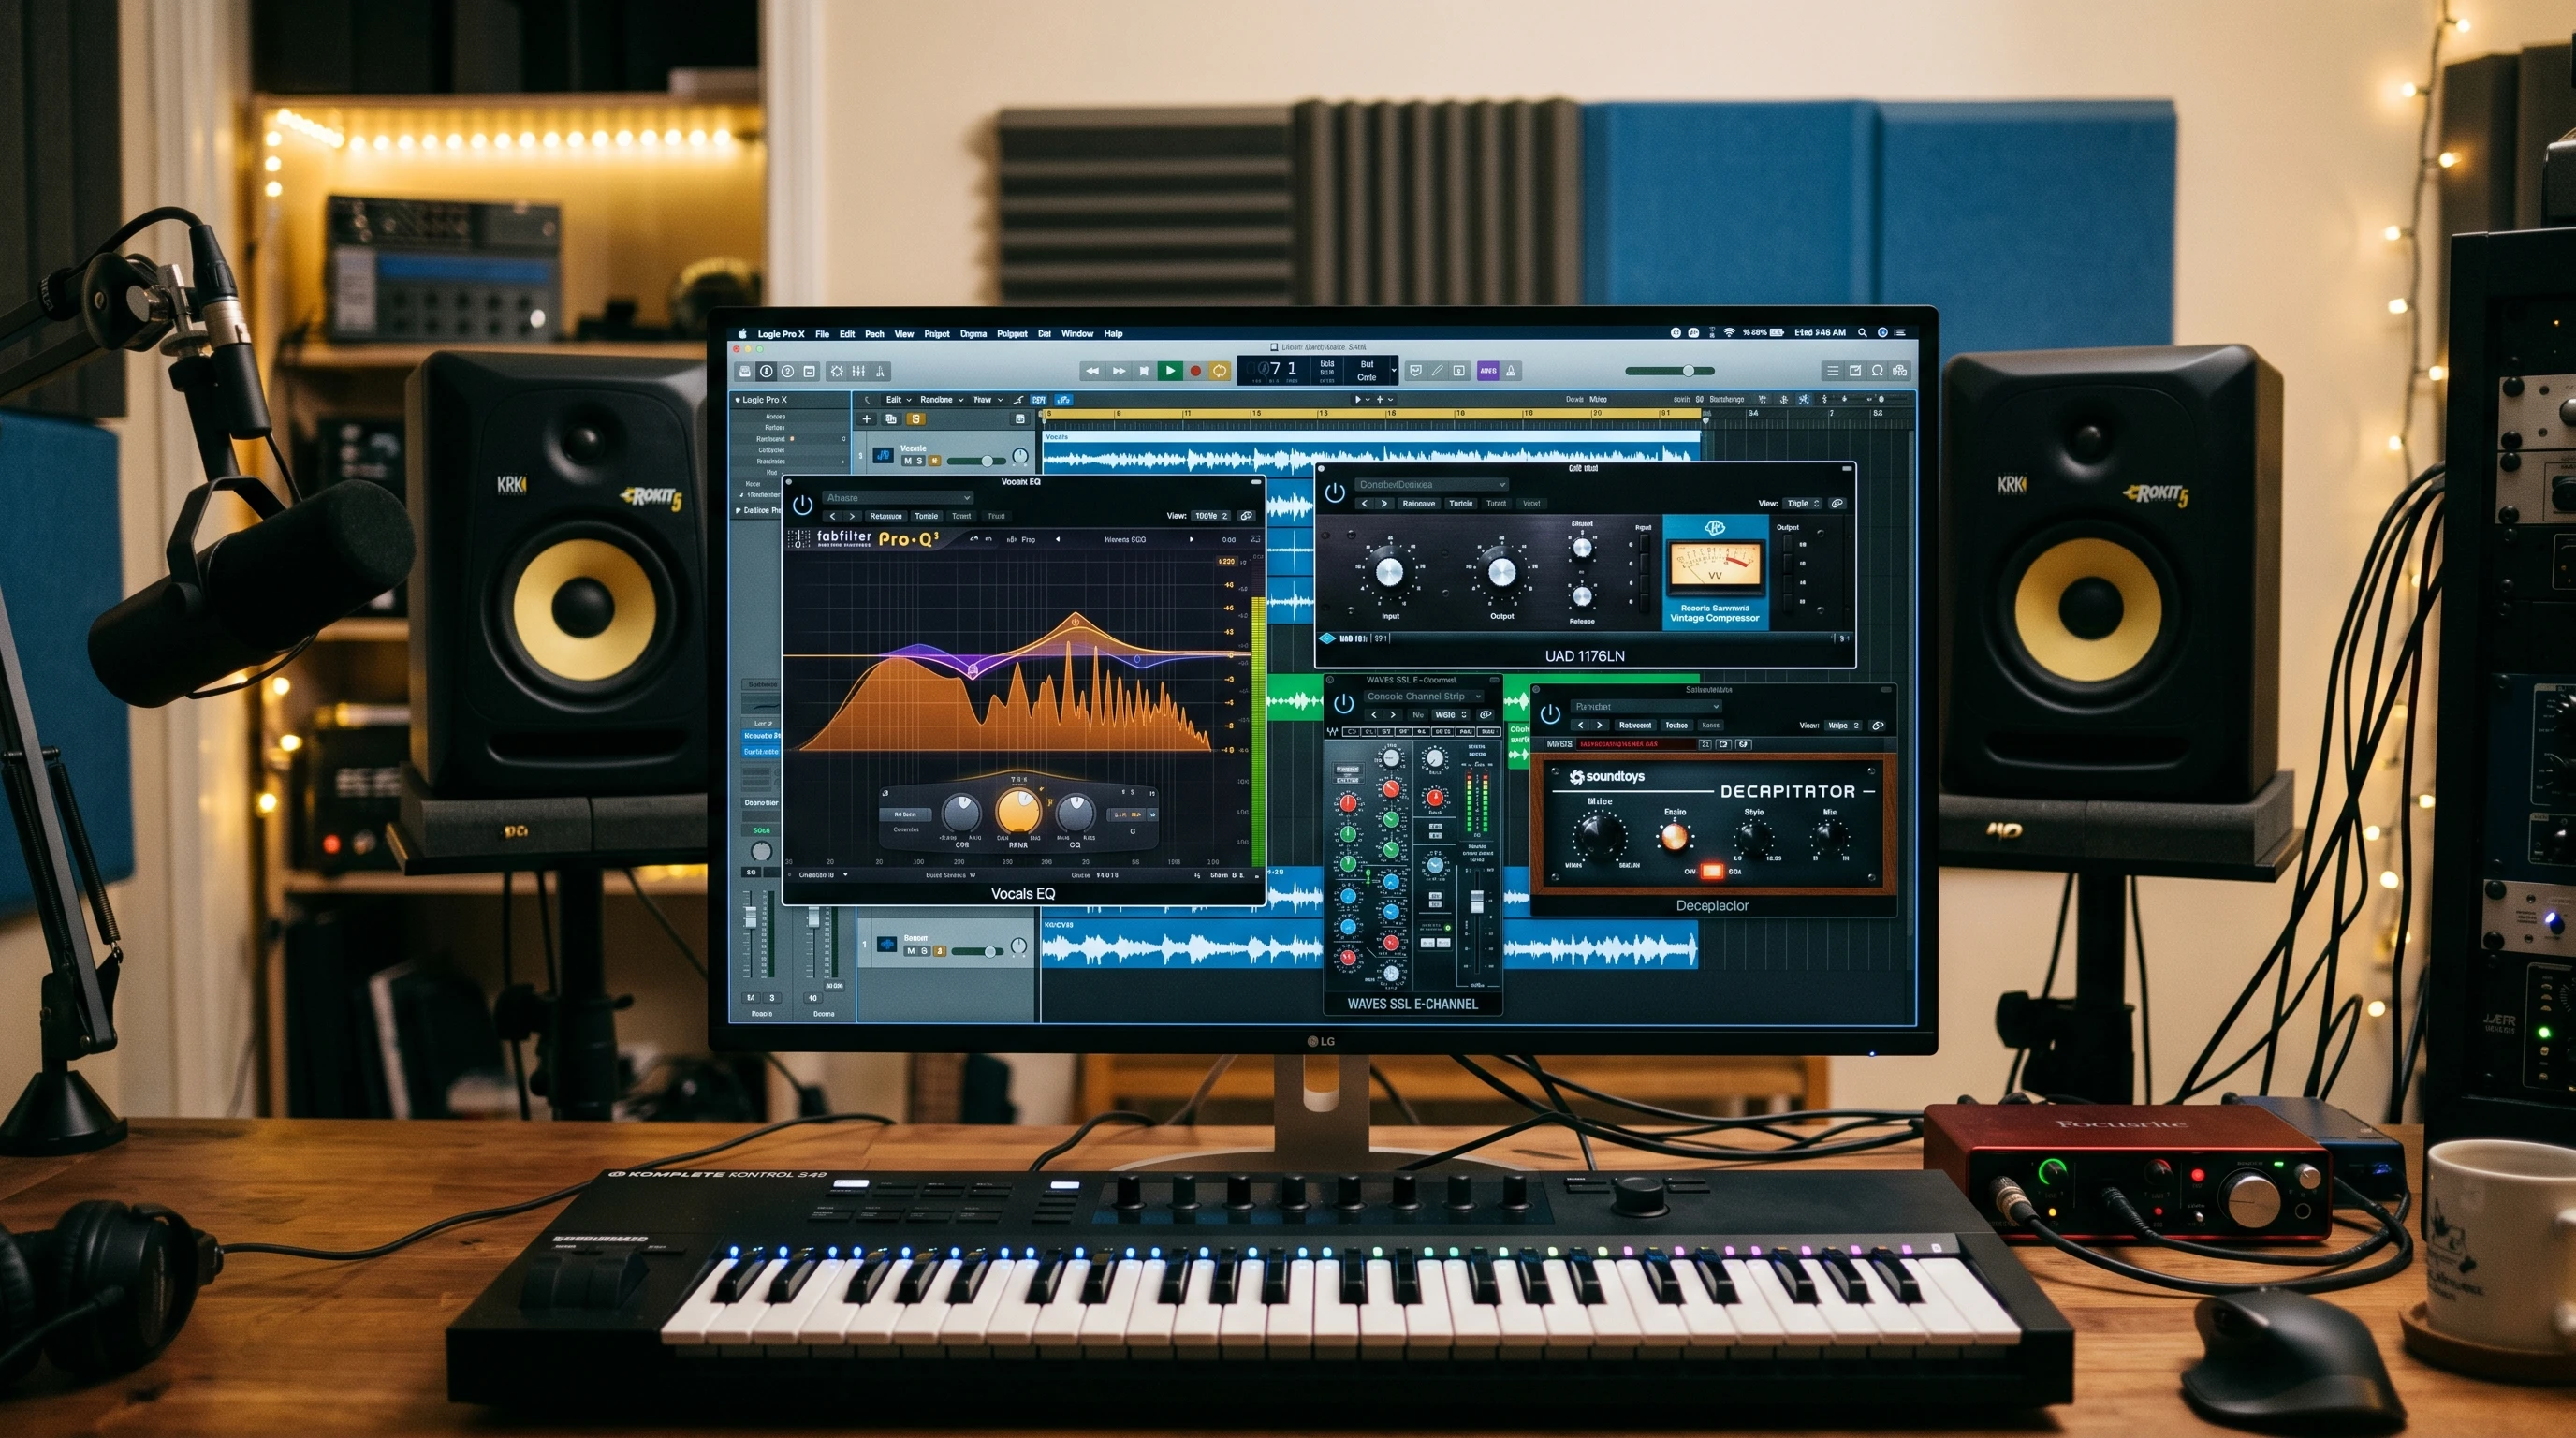
Mixing plugins are digital tools that let you shape, control, and improve the sound of your music tracks inside your digital audio workstation (DAW). These plugins can cover everything from EQ and compression to reverb, delay, and even some highly specialized effects. The right set of plugins can make the difference between a muddy mix and a clean, balanced final song.
For someone working in a home studio, plugins replace a lot of the expensive hardware found in professional studios. This means you don’t have to spend thousands of dollars to get professional-quality sound. Careful research helps buyers make informed decisions so they end up with valuable, versatile plugins. The plugin market has seen huge growth, with popular brands like Waves, FabFilter, and iZotope putting out new and updated options every year. Even beginners now have access to tools that were previously only found in top-tier studios.
Besides filling in for physical gear, plugins allow for a lot of experimentation and flexibility without breaking the bank or taking up physical space. Some plugins also offer unique features or creative processes that would be tough to do with hardware alone. You can quickly switch things up and save different versions, making learning and experimenting much easier at home.
How To Approach Choosing Mixing Plugins for Home Use
Choosing plugins can feel like shopping in a giant candy store—you’ll see a lot of cool-looking products and tempting demo videos. I always find it helpful to narrow down choices based on my needs and workflow. For beginners, I recommend understanding some basic plugin types and their uses. Here are a few core categories to get familiar with:
- EQ (Equalizer): This helps shape the tone of each track. It’s one of the most used tools in mixing.
- Compressor: Controls the dynamics and volume consistency. Keeping vocals and instruments steady in the mix often comes down to good compression.
- Reverb: Adds space and depth, making instruments and vocals sound natural and not too dry.
- Delay: Repeats audio at set times to add interest or thicken parts.
- Saturation/Distortion: Adds character, warmth, or grit by simulating analog gear. Great for making digital tracks feel a bit more organic.
Knowing what each plugin does lets you decide what to prioritize. For example, if vocals are your focus, a quality compressor and a smooth EQ should be high on your list. If you mainly mix electronic beats, sidechain compression or transient shaping might move up on your plugin wishlist.
Steps For Deciding Which Plugins to Get
I follow a few practical steps every time I add new plugins to my collection. Here’s how you can make your selection process easier:
- Identify Your Mixing Goals: Decide what genres you’re working with, how many tracks you usually mix, and what your weak spots are; for example, do you struggle with muddy vocals?
- Audit Your DAW’s Stock Plugins: Most DAWs come with basic EQ, compression, reverb, and delay plugins. Spend some time learning what you already have before buying anything new. Often, built-in tools are better than you might expect.
- Set a Budget: Mixing plugins range from free to several hundred dollars each. I set a reasonable monthly or yearly budget for plugins, which keeps spending under control and helps me make the most of money spent.
- Check for Demos and Free Trials: Many plugin companies offer demo versions. I test plugins in my actual mixes before spending any money. This helps me decide if the workflow and sound are right for me and lets me use the plugin in a real context.
- Read and Watch Reviews: I look up trusted YouTubers, audio engineers, and review sites to see what people say about the plugins I’m considering. Real-world examples and comparison videos are really helpful here, letting you check out how people actually use the tools.
This kind of step-by-step approach helps you avoid buying plugins you won’t use and keeps your mix sessions focused and productive. A thoughtful selection process pays off every time you mix, because you’ll know your tools inside and out.
Important Factors to Think About Before Buying Plugins
The decision isn’t just about what sounds cool or popular. I look out for a few specific features that make plugins work for real-world home studio use:
- CPU Usage: Some plugins can slow your computer down, especially if you stack several instances on large projects. I always check how a plugin affects my system’s performance, since stability is crucial.
- User Interface: Clear, easy-to-use controls are super important, especially when you’re working fast. Complicated or cluttered plugins tend to distract me and break my workflow, which kills creativity.
- Presets and Starting Points: Quality plugins often come with useful presets. These can give you a quick starting point and show how experienced engineers use the plugin, making learning faster and easier.
- Compatibility: Make sure the plugin runs smoothly with your DAW and operating system. Some plugins only support certain formats, like VST or AU, and you don’t want any surprises.
- Support and Updates: Reliable developer support and regular updates keep plugins working as your computer system changes. Good support teams can help you troubleshoot if things go wrong.
CPU Usage and System Performance
When I started, I didn’t realize how quickly a few heavy plugins could slow my session down or cause crashes. Now, I always check if a plugin is known for being light on CPU. This is especially important if you’re running a laptop or an older computer. Freezing tracks or bouncing to audio can help manage heavy loads, but choosing efficient plugins saves time and headaches. You’ll also be able to run more plugins at once for bigger, more polished mixes.
User Interface and Presets
Some plugins look amazing but are tricky to use. I prefer interfaces that make sense at a glance, especially during creative bursts. Presets are a bonus because they let me hear what’s possible without having to tweak every setting from scratch. A simple and clear plugin not only saves time, but also helps you get to know how the effects work.
Compatibility and Support
I check plugin specs every time before buying, making sure my DAW and operating system are listed as compatible. Nothing is more frustrating than a plugin that won’t load or causes crashes. Good support teams are worth their weight in gold when you run into technical hiccups, and frequent updates can also bring new features and better reliability.
Quick Tips to Get More From Your Mixing Plugins
I’ve learned a few shortcuts and tips from my own mixing sessions that save time and lead to better results:
- Keep It Simple: Piling on plugins doesn’t usually make mixes better. I try to use only what I need for each track, focusing on what really helps the sound instead of just adding effects for the sake of it.
- Learn From Built-In Tools: Stock plugins in your DAW might surprise you with how good they are. I often compare third-party options against my DAW’s built-ins before making permanent changes, and sometimes stick with the stock ones.
- Use Bypass Often: I switch plugins on and off to check if they’re really helping. If I can’t hear a clear improvement, I skip or remove the plugin. This helps avoid overprocessing and keeps mixes sounding natural.
- Update Regularly: Plugin updates often include bug fixes, new features, and improved performance. I make plugin updates a regular part of my studio maintenance so everything keeps running smoothly and securely.
The Basics: Which Plugin Types Should Beginners Start With?
Building a core toolkit is the best place to start. If you’re new to mixing plugins, focus on these essential types:
- EQ: I reach for a versatile parametric EQ for shaping everything from vocals to drums. It’s a foundational tool, and most DAWs have a good one built in.
- Compressor: A transparent compressor, like an 1176 clone or a VCA style, keeps my levels in check without making everything sound squashed. Compression controls the punch and feel of instruments.
- Reverb and Delay: Both give my mixes a sense of space and depth. I usually start with simple plate or hall reverbs, and a basic delay effect. These effects help blend tracks together for a polished sound.
- Saturation: For adding character and warmth, mild saturation plugins can make drums or vocals pop without sounding harsh. These also help digital tracks sound more alive and textured.
Once you get comfortable with these, you can branch out into specialty tools, like deessers for taming harsh vocals, multiband compressors, stereo wideners, chorus effects, or creative distortion.
- Electronic Music: Sidechain compressors are nearly essential for pumping bass and dynamic movement.
- Rock and Acoustic: Tape emulation and analog-style EQs can help make digital mixes sound more organic and less clinical.
- Pop and Hip Hop: Vocal tuning plugins and transient shapers can be game changers for polished, radio-ready results.
There are also a growing number of AI-powered or intelligent plugins that can help automate some tasks, but it’s still important to understand the basics and train your ear. No plugin beats a good understanding of mixing fundamentals.
FAQ: Common Questions About Mixing Plugins for a Home Studio
If you’re just starting out, I’ve pulled together answers to questions I hear all the time:
Question: Do I need to buy expensive plugins to get good mixes?
Answer: You can get great results with both free and paid plugins. The main difference is often workflow and extra features, not raw sound quality. I recommend trying free or stock plugins first and upgrading only when you find specific needs.
Question: How many plugins should I use on each track?
Answer: There isn’t a set rule, but I find that most tracks only need a handful: EQ, compression, sometimes reverb or saturation. If you feel lost in a chain of plugins, try removing a few and see how it sounds.
Question: Can plugins replace hardware gear completely?
Answer: For most home studios, plugins handle nearly everything hardware does and take up much less space. Some professionals still use hardware for a certain “feel,” but plugins are more than enough for home mixing.
Making the Most of Your Mixing Plugins
The best mixing plugins are the ones you know how to use well. Spending time comparing options, trying demos, and reading reviews will help guide you toward a toolkit that fits your workflow and music style. Don’t rush the process. Keep your choices practical and focused, and you’ll find the right plugins become reliable tools that help you create music you’re proud of.
Take your time experimenting and don’t assume more plugins will always improve your mixes. With a thoughtful approach and a focus on tools that make sense for your setup, you’ll be on your way to getting professional results from your home studio. Level up your skills by listening to reference tracks, asking for feedback, and exploring forums or communities where other home producers share their mixing experiences. Over time, you’ll develop your own go-to list of plugins that work for your music and creative style, making each mix better than the last.