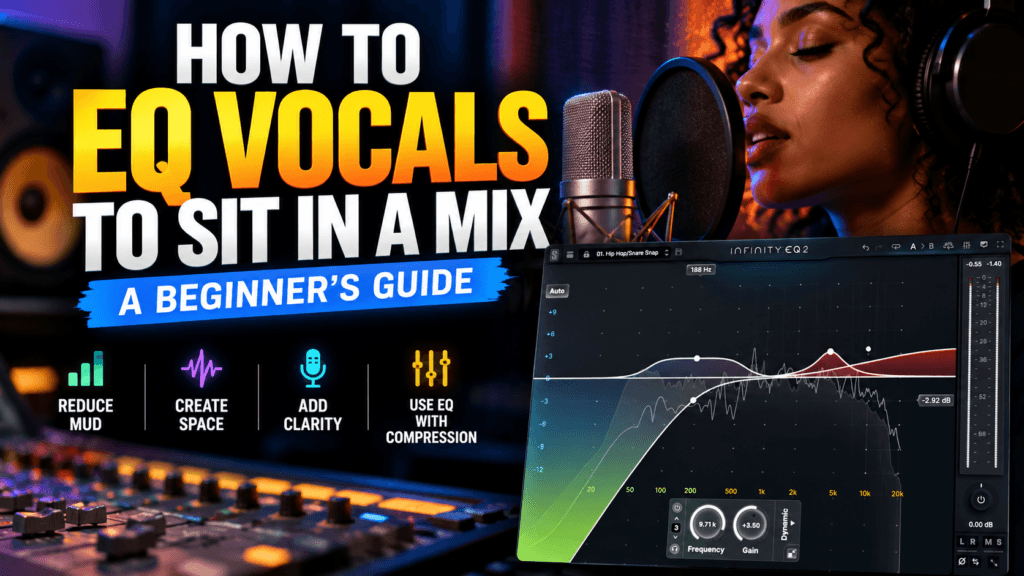
 How to EQ Vocals to Sit in a Mix: A Beginner’s Guide
You can have a great vocal recording, a great beat, and a collection of expensive plugins—and still end up with a vocal that doesn’t sit properly in the mix.
Maybe the vocal sounds too far forward. Maybe it disappears behind the instruments. Maybe it’s muddy, harsh, thin, or simply feels disconnected from everything around it.
The instinct for many beginners is to immediately start boosting and cutting frequencies on the vocal.
But there’s a better place to start.
A vocal doesn’t need to sound perfect by itself. It needs to sound right in the mix.
That’s one of the most important concepts to understand when learning how to EQ vocals.
In this guide, we’ll look at a practical approach to vocal EQ that doesn’t rely on magic frequencies or expensive plugins. You can follow the same process with almost any stock parametric EQ included with your DAW.
Start With Level Balance Before EQ
Before inserting an EQ, play the entire mix and adjust the vocal level.
This sounds almost too simple, but volume problems are frequently mistaken for EQ problems.
If the vocal is buried, you might assume it needs more presence or high frequencies when it simply needs to be turned up.
Likewise, a vocal that seems harsh or overly aggressive may simply be too loud relative to the instrumental.
Get the basic relationship between the vocal and instrumental working first.
Then ask:
What specifically is preventing the vocal from sitting naturally in the mix?
That question gives your EQ moves a purpose.
EQ Vocals in Context, Not Just in Solo
Soloing a vocal can be useful when you’re searching for a specific problem, but don’t make all your EQ decisions there.
A vocal can sound incredible by itself and terrible when the rest of the music comes back in.
That’s because mixing is about relationships.
The piano, synth, guitar, snare, vocal, and other sounds may all occupy some of the same frequency ranges. When several sounds compete for the same space, the mix can become crowded even if every individual track sounds good on its own.
Make an EQ adjustment, turn the rest of the mix back on, and listen again.
The question isn’t:
Does my vocal sound better?
It’s:
Does my mix sound better?
That’s an important distinction.
High-Pass the Vocal Only When Necessary
One of the first moves you’ll often see recommended for vocals is a high-pass filter.
A high-pass filter removes frequencies below a selected point while allowing higher frequencies to pass through.
This can help remove things like low-frequency rumble, handling noise, or unnecessary energy that isn’t contributing anything useful to the vocal.
But don’t automatically set a high-pass filter to 80 Hz, 100 Hz, or 120 Hz because you saw someone else do it.
Listen.
Gradually raise the filter while the entire mix is playing. If you begin removing body and weight from the vocal, you’ve probably gone too far.
The correct setting depends on the vocalist, recording, microphone, arrangement, and the sound you’re trying to achieve.
There is no universal vocal high-pass frequency.
Look for Mud and Boxiness
If the vocal sounds cloudy, congested, or like it’s fighting with the instrumental, the low-midrange is one area worth investigating.
Instead of immediately making a huge cut, use a parametric EQ band and listen carefully.
You can temporarily boost a frequency band and sweep through the area to help identify an unpleasant resonance or buildup. Once you’ve located the problem, turn the boost into a moderate cut.
Then listen in context.
The important part isn’t the exact frequency number.
You’re listening for the moment when the vocal becomes clearer without becoming noticeably thinner.
Small EQ moves can make a surprisingly large difference.
Sometimes You Should EQ the Instrumental Instead
Here’s where vocal EQ becomes much more interesting.
If the vocal is struggling to cut through a piano, synth, guitar, or pad, your first instinct might be to boost the vocal.
But what if the vocal already sounds good?
Instead of adding more frequencies to the vocal, you may be able to create space by slightly reducing competing frequencies in another instrument.
For example, imagine a vocal and synth pad are fighting for attention in the midrange.
You could continue boosting the vocal until it dominates the mix.
Or you could make a small cut in the pad where the vocal needs room.
The vocal may suddenly become clearer without changing the vocal EQ at all.
This is sometimes called frequency masking.
Learning to identify masking is one of the biggest steps toward understanding EQ as a mixing tool rather than simply a tone-shaping effect.
Subtractive vs. Additive EQ
Vocal EQ generally involves two basic types of moves.
Subtractive EQ removes something you don’t want.
You might use it to reduce muddiness, boxiness, harsh resonances, or other frequencies interfering with the mix.
Additive EQ boosts something you want more of.
You might add presence, clarity, brightness, air, or body when the vocal genuinely needs it.
Neither approach is automatically better.
The key is having a reason for the adjustment.
Don’t cut frequencies simply because a frequency chart says they’re bad, and don’t boost frequencies because someone else’s vocal chain uses the same setting.
Listen first.
Then EQ.
Be Careful With Presence and Brightness
When a vocal isn’t cutting through, boosting the upper mids can make it seem more present.
Adding high frequencies can also create brightness and air.
Both techniques can work extremely well.
They can also make a vocal harsh, brittle, or tiring to listen to.
Before boosting presence, ask whether another instrument is masking the vocal.
Before boosting brightness, ask whether the vocal actually sounds dull.
You may discover that the solution isn’t adding anything.
It could be creating more room around the vocal.
EQ Before Compression Changes What the Compressor Hears
This is something beginners don’t always realize.
The order of your plugins matters.
If your chain looks like this:
EQ → Compressor
the compressor receives the signal after you’ve changed it with EQ.
That means a significant EQ boost or cut can change how strongly the compressor reacts.
For example, while experimenting with EQ and compression, I made an EQ adjustment before a compressor and watched the gain reduction change from roughly 2 dB to around 6 dB.
Same compressor.
Different signal entering it.
That experiment made the relationship immediately obvious.
A compressor doesn’t know that you “only changed the EQ.”
It simply reacts to the signal you send into it.
That’s why you may need to revisit your compressor settings after making significant EQ adjustments earlier in the chain.
Why You Might Use Two EQs on One Vocal
Seeing two EQ plugins on a vocal track can look excessive when you’re first learning to mix.
But they may be doing completely different jobs.
Consider this chain:
EQ → Compressor → EQ
The first EQ might be corrective.
You could remove unwanted low frequencies or reduce a resonance before sending the vocal into the compressor.
Then the compressor controls the vocal’s dynamics.
The second EQ can be used for tonal shaping after compression.
Maybe the compressed vocal needs slightly more presence or air. Instead of changing the signal feeding the compressor, you can make that tonal adjustment afterward.
This isn’t a rule saying every vocal needs two EQs.
It simply demonstrates why plugin order can be intentional.
Check the Mix at Low Volume
Once you think the vocal is sitting correctly, turn your monitoring level down.
At low volume, pay attention to the overall balance.
Can you still understand the vocal?
Does anything suddenly seem way too loud?
Does the vocal disappear?
Does one instrument dominate everything else?
Low-volume listening can help reveal balance problems that are harder to notice when the speakers or headphones are loud.
You don’t need to mix all the time quietly.
Just use it as another perspective.
Don’t Chase Exact EQ Settings
Search online for vocal EQ settings and you’ll find endless recommendations:
Cut this frequency.
Boost that frequency.
Use this Q value.
Add this much air.
Those suggestions can help you understand what different frequency ranges generally sound like, but they shouldn’t become recipes.
Your recording isn’t their recording.
Your vocalist isn’t their vocalist.
Your microphone isn’t their microphone.
And your instrumental isn’t their instrumental.
A better workflow is:
- Balance the vocal against the instrumental.
- Identify a specific problem.
- Decide whether the vocal or another instrument is causing it.
- Make a small EQ adjustment.
- Listen again in context.
- Level-match when necessary.
- Keep the change only if the mix actually improves.
That’s mixing.
You Don’t Need an Expensive EQ Plugin
One of the easiest traps for new producers is believing that professional vocal mixes require expensive analog-modeled EQs.
They don’t.
A good stock parametric EQ gives you the essential tools you need to learn vocal EQ:
- High-pass and low-pass filters
- Bell filters
- Shelving filters
- Frequency selection
- Gain control
- Q or bandwidth control
More advanced EQ plugins can offer additional features, different workflows, analog coloration, dynamic processing, and other useful options.
But none of those replace knowing why you’re making an EQ move.
If you can’t get a vocal reasonably balanced with your stock EQ, buying another EQ plugin probably won’t solve the underlying problem.
Learn the fundamentals first.
Your plugin collection can come later.
A Simple Beginner Vocal EQ Workflow
If you’re learning how to EQ vocals, keep the process simple.
Start with the fader.
Listen to the vocal against the entire instrumental.
Remove unnecessary low-frequency information if it’s actually present.
Listen for mud, boxiness, harshness, or resonances that interfere with the mix.
Check whether competing instruments need adjustment before boosting the vocal.
Add presence or brightness only when the vocal needs it.
Then listen again.
And again.
That’s how your ears develop.
Eventually, you’ll stop thinking:
“What frequency am I supposed to cut?”
And start thinking:
“I hear something interfering with the vocal.”
That’s a much more valuable skill.
Final Thoughts
Learning how to EQ vocals isn’t about memorizing a list of frequencies.
It’s about learning how sounds interact.
Your goal isn’t necessarily to create the most impressive soloed vocal. Your goal is to create a vocal that feels like it belongs inside the record.
Sometimes that requires cutting the vocal.
Sometimes it requires boosting it.
Sometimes it means EQing another instrument.
And sometimes the best EQ decision is doing absolutely nothing.
Start with balance, listen in context, make intentional moves, and keep comparing your processed signal with where you started.
Most importantly, don’t let your plugin collection become a substitute for developing your ears.
You don’t need a $200 EQ to begin making better vocal mixes.
You need an EQ, a vocal, a mix—and practice.