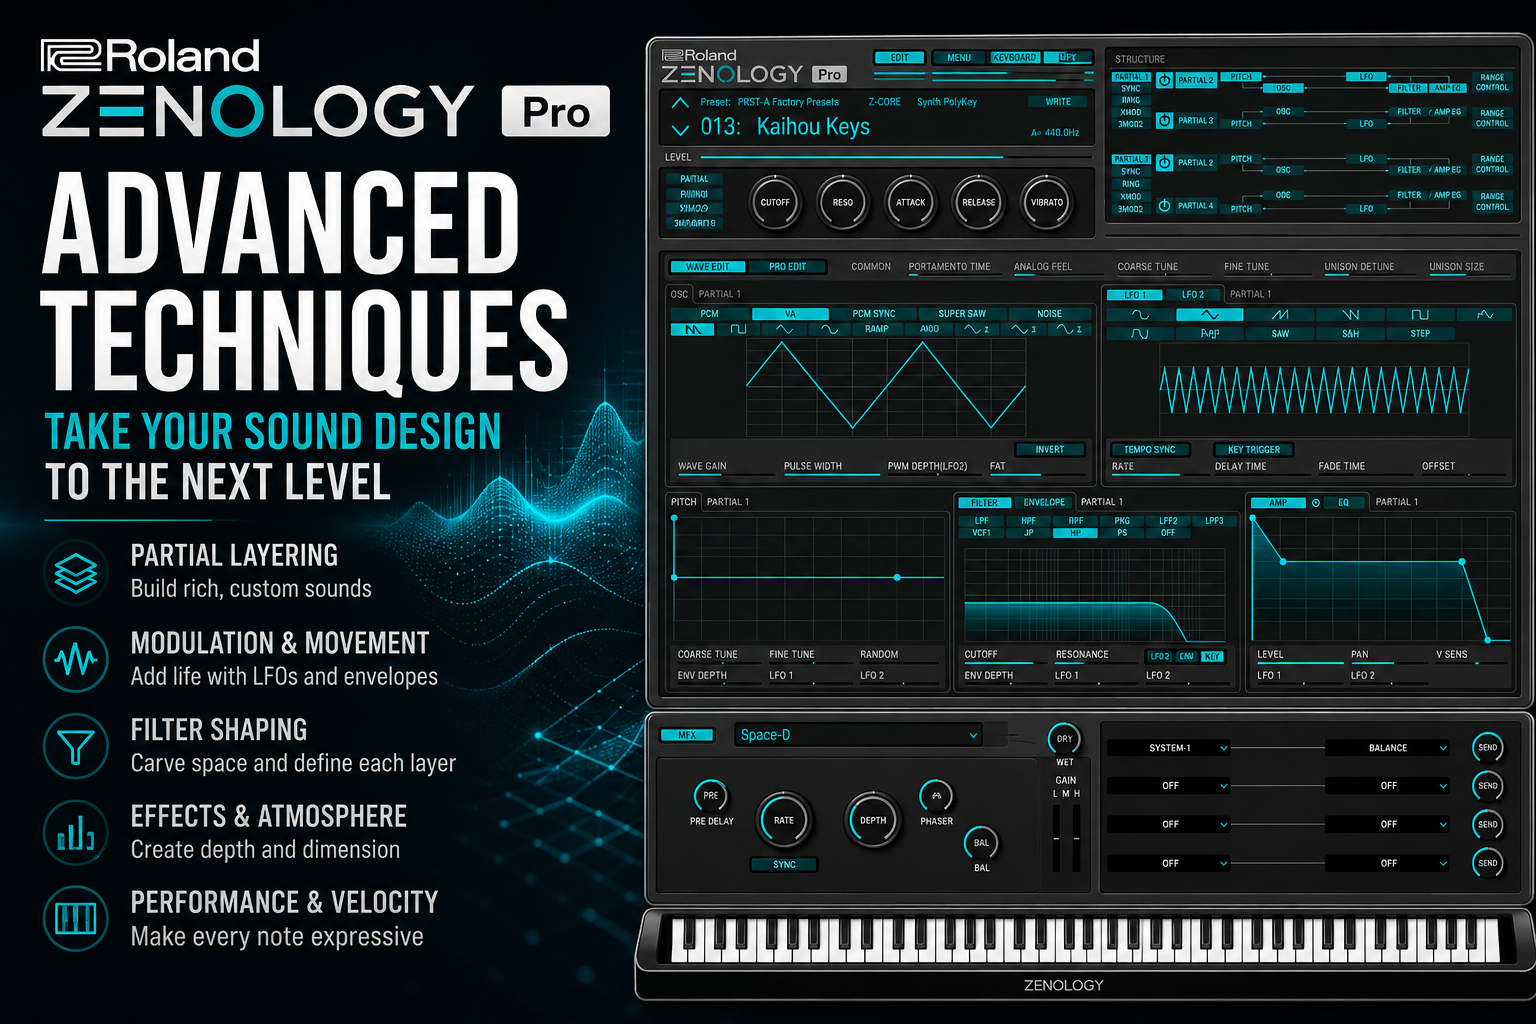
 Roland ZENOLOGY Pro Advanced Techniques: Take Your Sound Design to the Next Level
Once you understand the basics of Roland ZENOLOGY Pro, the real fun begins.
ZENOLOGY Pro is much more than a preset-based virtual instrument. Underneath its massive collection of sounds is a surprisingly deep synthesis engine that allows you to build, layer, shape, modulate, and process sounds in ways that can completely change how you approach production.
For Hip Hop, R&B, Trap Soul, Pop, Synthwave, and electronic music producers, learning some of ZENOLOGY Pro’s more advanced features can help turn ordinary presets into sounds that feel completely your own.
In this guide, we’ll explore Roland ZENOLOGY Pro advanced techniques including partial layering, modulation, velocity programming, filter movement, effects, sound stacking, and several practical tricks you can use when creating beats.
Start Thinking in Partials Instead of Presets
One of the biggest changes you can make when working with ZENOLOGY Pro is to stop thinking exclusively in terms of presets.
Instead, start thinking about partials.
A ZENOLOGY Pro tone can contain multiple partials, with each partial contributing another element to the overall sound.
Think of them like layers.
You might create a sound where:
- Partial 1 provides the main body.
- Partial 2 adds a bright attack.
- Partial 3 introduces texture.
- Partial 4 adds width or movement.
This opens the door to much more detailed sound design.
Instead of searching through hundreds of presets hoping to find the perfect sound, you can take something that’s already close and reshape its individual components.
1. Build Sounds by Layering Contrasting Partials
One of my favorite advanced approaches is combining sounds with completely different characteristics.
For example, imagine you’re creating an R&B keyboard patch.
You could combine:
Partial 1: Warm analog-style waveform
Partial 2: Soft digital texture
Partial 3: Bell-like attack
Partial 4: Airy high-frequency layer
The analog layer provides warmth while the bell layer gives the sound definition.
Meanwhile, the digital and airy layers create character.
The result can sound considerably more complex than any individual layer.
The important part is that every partial should have a purpose.
Don’t layer sounds simply because you can.
Ask yourself:
What is this layer adding?
If you can’t hear its contribution, you may not need it.
2. Give Each Partial Its Own Envelope
Another powerful technique is programming different envelope behavior for each layer.
Suppose you’re building a modern Trap Soul pluck.
Your first partial might have:
- Fast attack
- Short decay
- Low sustain
- Moderate release
That creates the initial pluck.
But your second partial could have:
- Slower attack
- Longer decay
- Higher sustain
- Long release
Now something interesting happens.
The first layer provides the transient while the second layer blooms underneath it.
Instead of sounding like one static synthesizer patch, the sound evolves after every note.
This technique works especially well for:
- Trap Soul keys
- Ambient pads
- Cinematic sounds
- R&B bells
- Synth plucks
- Atmospheric leads
Envelope differences between layers can create an incredible amount of movement.
3. Use Filters to Give Layers Different Roles
You can also separate partials using filtering.
For example, imagine you’re layering a warm synth with a brighter digital texture.
Instead of allowing both layers to occupy the entire frequency spectrum, you could filter them differently.
The warm layer could dominate the low-mid frequencies while the digital layer focuses on the upper frequencies.
This helps the layers complement each other instead of competing.
It’s almost like mixing inside the synthesizer.
This becomes especially useful when you’re designing sounds for busy Hip Hop or R&B arrangements.
A huge preset might sound impressive by itself but become difficult to mix once drums, bass, vocals, and other instruments enter the production.
Strategic filtering can solve that problem before you ever reach the mixer.
4. Create Movement With Slow Modulation
One of the easiest ways to make a synthesizer sound more expensive is subtle movement.
Static sounds can become boring quickly.
Slow modulation can keep them alive.
Try using an LFO to gently control parameters such as:
- Filter cutoff
- Pitch
- Pan
- Amplitude
- Other modulation destinations available within the patch
The key word here is gently.
You don’t necessarily want listeners to hear the LFO.
You want them to feel that the sound is moving.
For example, subtle pitch modulation can introduce an analog-style instability.
Slow filter modulation can make a pad gradually become brighter and darker.
Pan modulation can create stereo movement.
Small amounts often work better than extreme settings.
5. Create Analog-Style Imperfection
Perfectly stable synthesizers can sometimes sound too clean.
This is especially noticeable when you’re trying to create vintage-inspired R&B, Synthwave, Neo-Soul, or Hip Hop textures.
Introducing subtle instability can help.
Try experimenting with tiny amounts of pitch variation between layers.
For example, slightly detune one partial upward and another downward.
The differences should be small.
You’re looking for thickness rather than an obviously out-of-tune instrument.
Combine that with subtle modulation and you can create sounds that feel wider and less sterile.
This technique works particularly well with:
- Pads
- Poly synths
- Synth strings
- Analog-style leads
- Dreamy R&B chords
6. Use Velocity as a Sound-Design Tool
Velocity shouldn’t only control volume.
It can also change how a sound responds.
For example, you could design a keyboard patch where softer playing produces a darker tone while harder playing opens the filter.
Now the instrument responds differently depending on your performance.
This can make programmed MIDI sound much more expressive.
Instead of every chord hitting with exactly the same intensity, try changing velocities throughout the progression.
For R&B especially, this can make keyboard parts feel much more natural.
You could emphasize the top note of a chord while playing the supporting notes more softly.
Combined with velocity-sensitive synthesis parameters, the patch begins responding almost like a real instrument.
7. Turn Simple Presets Into Custom Sounds
You don’t always need to build patches from scratch.
In fact, modifying existing presets can be one of the fastest ways to learn ZENOLOGY Pro.
Load a preset you like.
Then start asking questions.
What happens if you disable one partial?
What happens if you change its envelope?
What happens if you lower its filter cutoff?
What happens if you change the balance between layers?
What happens if you remove the effects?
This is essentially reverse engineering.
You’re learning how the original sound was constructed while simultaneously creating your own variation.
Save the result as a new patch.
Do this regularly and you’ll gradually build your own personal ZENOLOGY Pro sound library.
8. Design Sounds Around the Beat
Here’s another technique that can completely change your workflow.
Don’t design sounds in isolation.
Design them inside the beat.
A synth patch that sounds incredible when played alone might take up far too much space in an actual production.
Instead, loop your drums, bass, and main musical elements while editing the patch.
Then adjust the sound until it fits.
You might discover that the patch needs:
- Less low end
- Shorter release
- Less reverb
- Less stereo width
- A darker filter setting
- Fewer partials
That’s perfectly fine.
The goal isn’t to create the biggest sound.
The goal is to create the right sound for the production.
9. Use Shorter Releases for Cleaner Arrangements
This technique is particularly useful for Hip Hop and Trap Soul.
Long synth releases can sound beautiful when you’re auditioning presets.
But once several instruments are playing simultaneously, those releases can create a cloudy mix.
Try shortening the amp envelope release.
Your chords will stop more quickly, leaving room between musical phrases.
This creates additional space for:
- Vocals
- 808s
- Drum transients
- Counter melodies
You can then use delay or reverb to create atmosphere without having the original synth notes ringing forever.
10. Separate the Dry Sound From the Atmosphere
A common sound-design mistake is using massive amounts of reverb directly on the patch.
Sometimes that works.
But you can gain more control by keeping the core sound relatively focused and creating atmosphere separately.
Start with a strong dry tone.
Then introduce effects gradually.
This makes it easier to determine exactly what the effects are contributing.
For an R&B pluck, for example, you might start with a relatively dry sound and add:
- Subtle modulation
- Delay
- Reverb
- EQ or filtering where necessary
The dry signal maintains clarity while the effects create depth.
11. Create Width With Layer Differences
You don’t always need a dedicated stereo widener to create a large sound.
Differences between layers can naturally produce width.
Try slightly changing parameters between partials.
For example:
- Different tuning
- Different filter cutoff
- Different envelope timing
- Different modulation amounts
Even small variations can prevent the layers from behaving identically.
That difference creates complexity.
Just remember to check your sound in mono occasionally.
A sound can appear enormous in stereo while losing important information when collapsed to mono.
12. Automate ZENOLOGY Pro Inside Your DAW
Sound design doesn’t have to stop once you’ve created the preset.
Automation can turn a static patch into part of the arrangement.
Depending on your DAW and available automation assignments, experiment with automating parameters such as filter movement or effect levels.
For example, you could start a verse with a darker synth.
As the song approaches the chorus, gradually open the filter.
When the chorus arrives, the sound becomes brighter and more energetic.
You can also reduce effects during verses and increase them during transitions.
These small changes make arrangements feel more dynamic without requiring additional instruments.
13. Create Call-and-Response With One Patch
Here’s a useful production trick.
Duplicate your MIDI part and create two variations of the same ZENOLOGY Pro patch.
Make the first version darker.
Make the second version brighter or more heavily processed.
Then alternate between them.
For example:
Bars 1–2: Dark version
Bars 3–4: Bright version
Now you have call-and-response without introducing a completely unrelated instrument.
Because both sounds share the same foundation, the arrangement remains cohesive.
14. Build Your Own Signature Patch Collection
One of the biggest advantages of learning advanced synthesis is that you become less dependent on preset browsing.
Start building categories for sounds you create.
For example:
R&B
- Warm Keys
- Dreamy Pads
- Soft Bells
- Atmospheric Leads
Trap Soul
- Dark Plucks
- Ambient Keys
- Textured Bells
- Moody Pads
Hip Hop
- Vintage Synths
- Dirty Keys
- Bass Patches
- Experimental Textures
After several months, you could have dozens—or eventually hundreds—of sounds tailored specifically to your production style.
That’s when a synthesizer like ZENOLOGY Pro becomes extremely powerful.
You’re no longer just using Roland’s library.
You’re building your library using Roland’s engine.
Advanced ZENOLOGY Pro Workflow
Here’s a simple workflow you can use when designing sounds.
Step 1: Choose a starting point
Start with either an initialized patch or a preset that’s relatively close to the sound you’re imagining.
Step 2: Identify the core partial
Find the layer responsible for most of the sound’s character.
Step 3: Remove unnecessary layers
Temporarily disable partials and determine whether they’re actually contributing something useful.
Step 4: Shape the envelopes
Decide how quickly the sound should appear and disappear.
Step 5: Shape the frequency spectrum
Use filtering to determine where each layer belongs.
Step 6: Introduce modulation
Add subtle movement through LFOs or other modulation options.
Step 7: Add expression
Experiment with velocity and performance controls.
Step 8: Add effects
Use effects to enhance the patch rather than rescue it.
Step 9: Test the patch in a beat
Listen to it alongside drums, bass, and other instruments.
Step 10: Save your version
Give the sound a useful name and add it to your personal collection.
A Practical R&B Sound-Design Exercise
If you want to put these techniques into practice, try creating an evolving R&B keyboard sound.
Start with a warm synth waveform as your main partial.
Add another partial with a brighter tone and give it a slightly slower attack.
Introduce a third layer with a short, bell-like envelope to provide definition at the beginning of each note.
Filter the brighter layers so they don’t overwhelm the main sound.
Then introduce subtle pitch or filter modulation.
Play a minor 7th or minor 9th chord progression and adjust the patch while the progression loops.
Finally, add a small amount of delay and reverb.
The goal is to create a patch that begins with a defined attack but gradually blooms into a wider atmospheric texture.
Save it.
Then create another version with a shorter release for busier arrangements.
You’ve now created two usable patches from the same basic design.
Don’t Confuse Complexity With Quality
Advanced sound design doesn’t mean every patch needs four layers, extreme modulation, and a huge effects chain.
Sometimes the best sound is incredibly simple.
The purpose of learning advanced techniques is control.
You want to understand how to make a sound:
- Brighter
- Darker
- Wider
- Narrower
- Softer
- More aggressive
- More expressive
- More rhythmic
- More atmospheric
Once you understand which parameters create those changes, preset browsing becomes much less frustrating.
Instead of saying:
“This preset is almost right.”
You can say:
“This preset needs a shorter release, darker filter, less reverb, and slightly more movement.”
That’s a completely different level of control.
Final Thoughts
Learning these Roland ZENOLOGY Pro advanced techniques can turn the instrument from a massive preset library into a serious sound-design environment.
Start by exploring partials.
Learn how envelopes change the role of each layer. Experiment with filtering, modulation, velocity, effects, and subtle tuning differences.
Most importantly, design sounds while making music.
You don’t need to spend hours creating complicated patches just to prove that you understand synthesis. The goal is to create sounds that inspire better beats.
Over time, save your favorite experiments and build your own collection of custom patches.
Eventually, you’ll spend less time searching for the perfect preset and more time knowing exactly how to create it.