Harsh vocals usually come from one of a few sources: boxy low mids, a bite around the upper mids, sharp “s” sounds, or low notes that boom louder than the rest. A single compressor reacts to the whole signal at once, so it cannot fix just one of these without squashing the rest. If you want to know how to use multiband compression on vocals, the answer is to split the voice into frequency bands and compress only the band that misbehaves, only when it misbehaves.
This walkthrough works with any multiband compressor, stock or third-party. You will use your ears and the gain-reduction meters instead of a preset recipe, because the right settings depend on the voice, the microphone and the room.
When a vocal needs multiband compression and when plain EQ is enough
Start by deciding whether the problem is constant or changing. A constant problem is a frequency that sounds too loud on every word and every note. A changing problem shows up only on certain syllables, loud phrases or particular notes.
Constant problems belong to a regular EQ. If a vocal sounds boxy from the first word to the last, a cut around the boxy region fixes it with no moving parts. Compression there would only add side effects.
Changing problems are where multiband compression helps. Try this test: cut the suspect region with an EQ until the loud phrases sound right. If the quiet phrases now sound dull or thin, the region is only a problem when the singer pushes. That is a job for a compressor that works on one band.
Fix the basics first. Even out the biggest level jumps with clip gain or automation, and apply your normal vocal compression before the multiband stage. A multiband compressor works best on a vocal that is already reasonably consistent.
Set up your multiband compressor before touching a threshold
Put the multiband compressor after your main vocal compressor and any corrective EQ. Loop the loudest section of the song, usually the final chorus, because that is where harshness is worst and the compressor has the most to do.
Then prepare the plugin so it does nothing yet:
- Start with three or four bands. More bands give more control but make it harder to hear what each one is doing.
- Set every threshold high so no band is reducing gain. The vocal should sound identical to bypass.
- Use a moderate ratio such as 2:1 to 4:1. You can adjust it later, but a gentle ratio keeps the compression from sounding obvious.
- Choose medium attack and release times as a neutral starting point. You will tune them for each band.
- Match the output level so that switching the plugin in and out does not change the loudness. A louder signal always sounds better, and that fools you.
Place the crossover points roughly where the common trouble spots sit. Low mids are often in the 150 to 500 Hz area, upper mids around 2 to 5 kHz, and sibilance between about 5 and 9 kHz. These are starting areas only. Voices differ, and the next step is to find where yours actually misbehaves.
Find the harsh zone by soloing and sweeping each band
Most multiband compressors have a solo button on each band. Solo the band you suspect and listen to the loudest phrase on repeat. The harshness becomes easier to hear on its own, because you are no longer hearing the warm body of the voice around it.
Move the crossover points while the loop plays. When a band’s edge crosses the harsh area, the soloed sound gets suddenly more painful or more nasal. Move the edge past that spot and the problem fades. You are looking for the frequency range where the unpleasant sound lives, then setting the band edges to surround it.
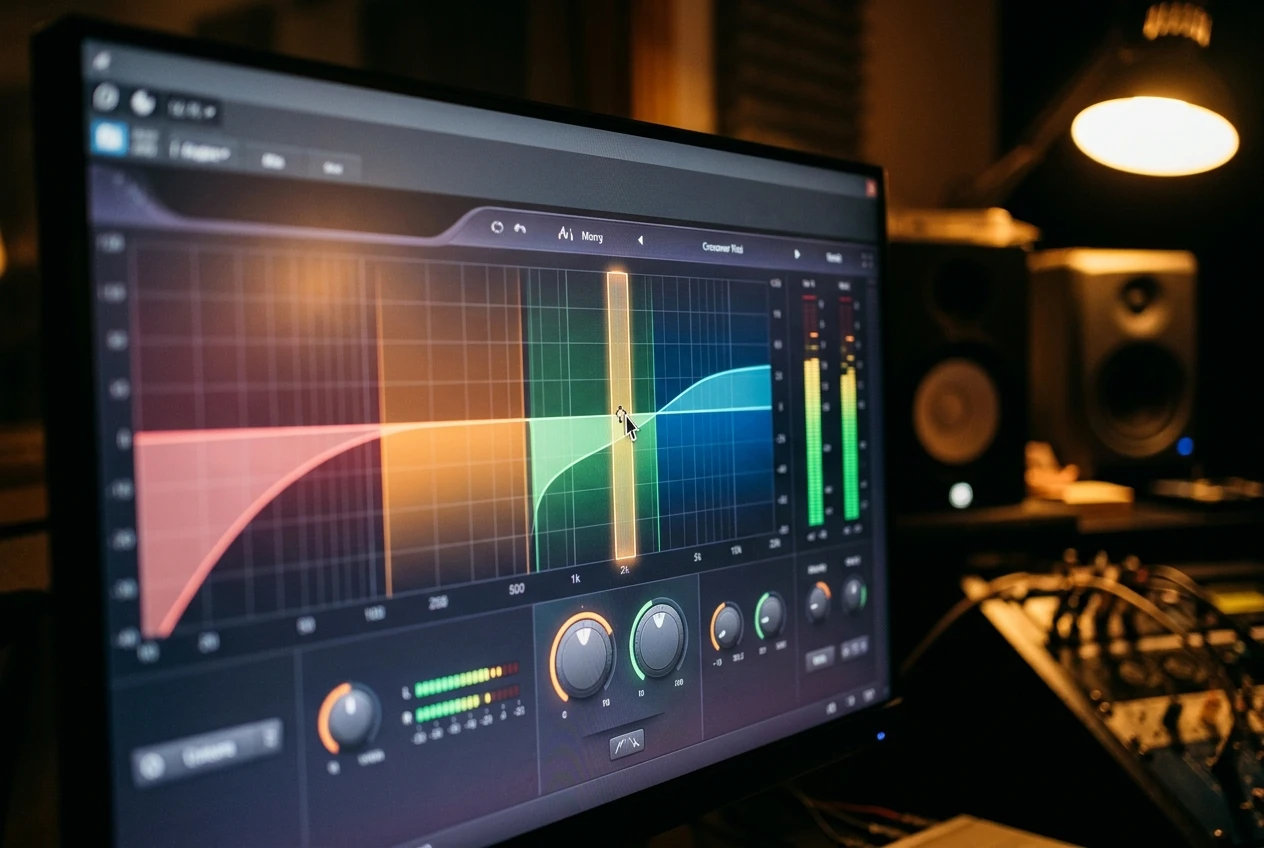
If your plugin has fixed crossover points, you can find the same information with a regular EQ. Boost a narrow band by several dB and sweep it across the area, listening for where the voice sounds worst. Note the frequency, remove the boost, and set the multiband crossovers around that spot.
Two cautions apply while you search:
- Ears adapt quickly to a soloed band. Spend a minute or less on each, then un-solo and check the result in context.
- Keep the listening volume steady. Loud monitoring makes every vocal sound harsher than it is.
Tame boxy low mids without thinning the voice

Boxiness is a build-up in the low mids that makes the vocal sound like it was recorded in a small cupboard. It often comes from the room or from singing close to the microphone. Low mids are also where a voice gets much of its body, so the aim is to control the loud moments and leave the rest alone.
Solo the low-mid band, then lower its threshold slowly until the gain-reduction meter starts moving on the loudest words. A good target is one to three dB of reduction on those peaks, with the meter dropping back to zero between phrases.
Use a slower attack on this band. The first moment of each word passes through before the compressor reacts, which keeps the weight and punch of the voice. A faster attack on a low-mid band tends to flatten words and make the vocal sound thin. Set the release so the meter returns to zero before the next word starts. A release that is too long keeps the band turned down, and the voice sounds hollow.
Uneven low end is a related problem. Some notes boom more than others because of the singer’s proximity to the microphone or the room’s resonances. Give the lowest band a gentle ratio and a threshold that catches only the notes that jump out. Check that the boomy notes now sit at the same weight as the others without losing the chest of the voice.
If the low mids sound boxy at all times, return to EQ. A permanent cut costs less in sound quality than a compressor working constantly.
Control harsh upper mids and sibilance without dulling the top end
The upper mids, roughly the 2 to 5 kHz region, are where the ear is most sensitive. A vocal can sound fine at a low level and become tiring when it gets louder, because this band grows faster than the rest.
Solo the upper-mid band and lower the threshold until the harshest phrases trigger reduction. Use a faster attack than you used for the low mids, since harshness is often a short burst. Aim for two to four dB of gain reduction on the worst peaks. Un-solo, then compare with bypass at matched volume. The vocal should feel smoother when pushed, and the quiet parts should sound untouched.
Sibilance sits higher, often in the 5 to 9 kHz range. Give this band a fast attack and a fast release, because “s” and “t” sounds are very short. Keep the band narrow. If you set it too wide, the compressor also grabs the air and shine above the sibilance, and the vocal turns dull.
Three habits protect the top end:
- Leave the highest band, the one that holds the air, with no compression at all.
- Do not reduce sibilance to zero. A vocal with no “s” sounds can sound like the singer has a lisp.
- Listen to words that start or end with “s”, “t” and “sh” in the full mix, not just solo.
If sibilance is the only problem, you may not need a multiband compressor. The comparison section below explains when a de-esser does the job more simply.
Check your work: gain reduction targets, bypass tests and the full mix
Once each band is set, check the whole chain with a few tests.
Read the meters. For corrective work, most bands will show something like one to four dB of reduction at their peaks. A band that is reducing constantly is not responding to problem moments, it is acting as a static EQ. A band that needs six dB or more to sound right is telling you the source has a larger problem. Consider clip gain on the loudest syllables, a different take, or a broad EQ cut before the compressor.
Bypass with matched level. Switch the plugin on and off while the output level stays the same. You should hear the harshness reduced and the character of the voice kept. If bypass sounds livelier, a band is taking out too much, so raise its threshold or lower its ratio.

Listen in the full mix. Add the drums, guitars and other elements and play the section again. A vocal that sounds tame alone can become harsh again next to cymbals, or hide under them after processing. Adjust the thresholds with the full arrangement playing.
Check at low volume and on different playback. Play the mix quietly, then on headphones or a small speaker. Harshness that disappears at low volume may not be a problem. Harshness that remains on every system needs more work.
Come back to the settings after you have done other mix moves. Changes to the instrumental, the reverb or the vocal level change how the vocal sits.
Multiband compression, dynamic EQ or de-esser: which tool for which problem
All three tools reduce a frequency range only when it gets too loud, and they overlap a lot. They differ in how much control they give and how simple they are to set up.
Problem Best tool Why A frequency that is too loud all the time Static EQ No need for a moving band A narrow resonance that appears on certain notes or words Dynamic EQ Works on a narrow point and only acts when it appears Sharp “s” and “t” sounds only De-esser Built for short, high-frequency bursts, with few controls to set A broad region such as the low mids or upper mids that gets too loud on strong phrases Multiband compressor Compresses a wide band with attack and release control Uneven low end across notes Multiband compressor A gentle low band evens out boomy notes
A good rule is to use the simplest tool that solves the problem. A de-esser handles sibilance with fewer decisions than a multiband compressor. A dynamic EQ is better when the trouble sits at one narrow frequency. Reach for the multiband compressor when the problem covers a wider region or when you want to compress more than one area in a single plugin.
Many mixers combine them: a de-esser for sibilance, a dynamic EQ for one stubborn resonance, and a multiband compressor for the low mids and upper mids.
Plugins that make this easier (and where to find reviews on this site)
Most DAWs include a multiband compressor among their stock plugins, so check what you already own before buying anything. If you do shop for one, these features make the job easier:
- Solo on each band, so you can find the problem frequencies by ear.
- Adjustable crossover points that you can move freely.
- Individual threshold, ratio, attack and release for each band.
- A gain-reduction meter on every band, so you see how much each one works.
- Output gain control, so you can compare against bypass at the same level.
- A dynamic EQ mode, if you want one plugin that handles both approaches.
For a wider look at plugins that suit vocals, see our guide to vocal mixing plugins you must try. If you are still deciding what fits your room and budget, how to choose mixing plugins for a home studio explains what to look for before you spend money.
Read our breakdown of the best vocal mixing plugins to find a multiband compressor or dynamic EQ that suits your setup: Best Vocal Mixing Plugins of 2026.