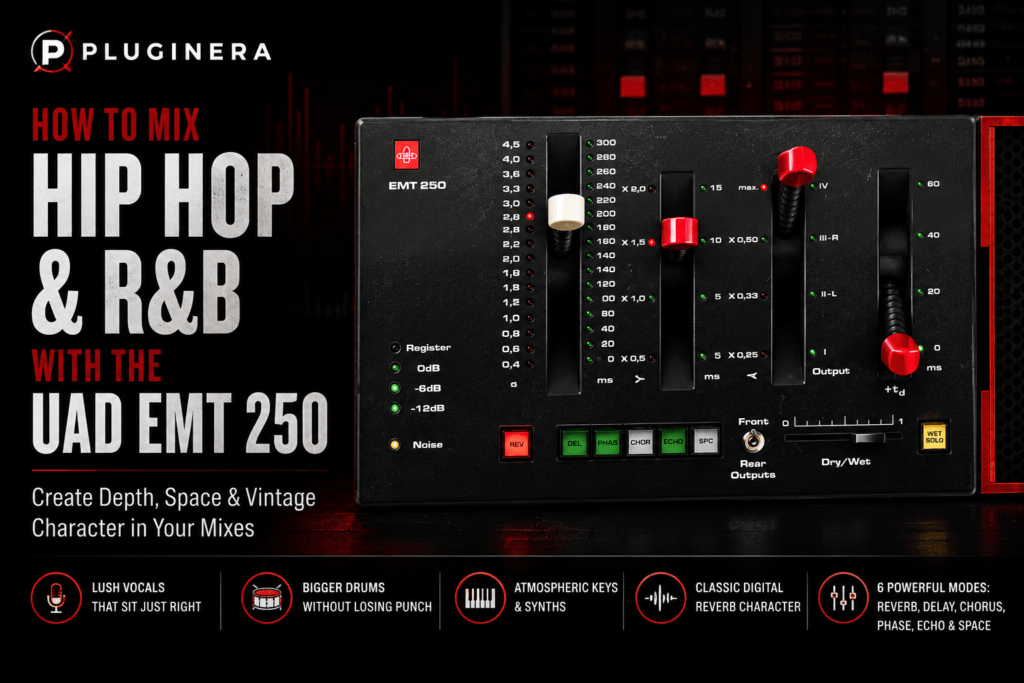
 Reverb can completely change the emotion of a Hip Hop or R&B mix.
Use too little, and your vocals, keys, drums, and melodies can feel dry and disconnected. Use too much, and suddenly everything sounds distant, muddy, and washed out.
The trick is creating depth without sacrificing clarity.
That’s exactly where the Universal Audio EMT 250 Classic Electronic Reverb becomes interesting.
Based on the legendary EMT 250 hardware introduced in 1976, the UAD EMT 250 gives producers a distinctive vintage digital sound that can add space, movement, and character without necessarily sounding like a modern, pristine reverb.
And despite its vintage roots, it can work extremely well in modern Hip Hop, R&B, Trap Soul, Alternative R&B, and melodic Trap production.
In this guide, we’ll look at practical ways to use the UAD EMT 250 on vocals, drums, keys, synths, samples, ad-libs, and transitions while keeping your mix clean.
Why the EMT 250 Works So Well for Hip Hop & R&B
Modern Hip Hop and R&B production often leaves a surprising amount of empty space.
You might have:
- Drums
- 808
- Electric piano
- Pad
- Vocal
- A few atmospheric textures
That’s sometimes the entire arrangement.
Reverb becomes important because it helps establish the environment surrounding those sounds.
The EMT 250 is particularly useful because its reverb has character.
Instead of creating an ultra-realistic room, it can produce a smooth, slightly vintage digital ambience that becomes part of the sonic identity of the track.
That makes it especially good for creating the dark, spacious backgrounds frequently heard in modern R&B.
But there’s another advantage.
The EMT 250 isn’t only a reverb.
You also get Delay, Phase, Chorus, Echo, and Space modes.
That means one plugin can handle several different depth and movement effects throughout a production.
1. Start by Creating an EMT 250 Reverb Send
You can insert the EMT 250 directly onto an individual track, but for mixing, I recommend starting with an auxiliary/send channel.
Create a stereo effect channel and load the EMT 250.
Set it to:
Mode: Reverb
Dry/Wet: 100% wet
Decay: roughly 1.5–2.5 seconds
Predelay: roughly 40–80 ms
Then send different instruments to that channel.
This gives you one consistent space shared across your production.
It also gives you much better control over how much ambience each element receives.
Your vocal might receive a moderate amount.
Your electric piano might receive slightly more.
Your drums might receive almost none.
They’re still sharing the same environment, which can subtly help the record feel cohesive.
2. Use Predelay to Keep Vocals Up Front
This might be the most important EMT 250 technique for R&B vocals.
You want the vocal to sound big and spacious without sounding far away.
Predelay helps accomplish that.
Predelay creates a short gap between the original vocal and the beginning of the reverb.
Try starting around:
40–80 ms
Instead of the reverb immediately surrounding the vocal, you’ll hear the dry vocal first.
Then the reverb appears behind it.
That tiny separation can make a huge difference.
Try this starting point:
Decay: 1.5–2.2 seconds
Predelay: 50–70 ms
High-frequency decay: moderately reduced
Send level: low to moderate
Now bypass the reverb.
The vocal should suddenly feel smaller.
Turn it back on.
The vocal should feel larger and more expensive—but still relatively close to the listener.
That’s the goal.
3. Create Dark R&B Vocal Reverb
Bright reverbs can sometimes compete with a lead vocal.
For darker R&B and Trap Soul production, try making the reverb darker than the actual vocal.
Use the EMT 250’s frequency-dependent decay controls to reduce how long the higher frequencies remain in the reverb.
The result is a darker tail sitting behind the vocal rather than surrounding it with bright reflections.
A good starting point is:
Decay: 2–3 seconds
Predelay: 60–80 ms
High-frequency decay: shorter
Low-frequency decay: controlled
Send your vocal into it gradually.
You’re looking for atmosphere rather than an obvious effect.
This works especially well when the instrumental contains dark pads, electric piano, filtered samples, or sparse drums.
4. Give Background Vocals More Depth
Your lead vocal usually needs to remain near the front of the mix.
Background vocals don’t.
That’s where you can push the EMT 250 considerably harder.
Try using:
Longer decay: 2.5–4 seconds
Less predelay: 20–50 ms
Higher send level
Reducing the predelay allows the reverb to attach itself more closely to the background vocals.
That naturally pushes them backward.
You can also darken the reverb.
Now you have an effective depth hierarchy:
Lead vocal → closer
Background vocals → farther away
This can create a much more three-dimensional vocal arrangement without simply turning the background vocals down.
5. Create Atmospheric Ad-Libs
Ad-libs are where you can get more aggressive.
Send certain words or phrases heavily into the EMT 250.
Try:
Decay: 3–5 seconds
Wet signal: high
Predelay: moderate
Then automate the send.
Instead of applying massive reverb to every ad-lib, choose specific phrases.
For example:
Dry phrase → dry phrase → huge reverb throw
That creates movement.
You can also combine the EMT 250 with delay.
Try:
Vocal → Delay → EMT 250
Now the delay repeats disappear into a long vintage reverb.
This is excellent for creating atmospheric vocal tails at the end of verses and hooks.
6. Make Snares and Claps Feel Bigger
Hip Hop drums usually need to remain punchy.
So putting huge reverbs across the entire drum kit isn’t always the answer.
Instead, target specific elements.
Snares and claps are perfect candidates.
Create another EMT 250 send with a shorter decay:
Decay: 0.5–1.2 seconds
Predelay: short
High-frequency decay: moderate
Wet: 100%
Send just a small amount of your snare or clap into it.
The effect shouldn’t necessarily sound like:
SNARE → REVERB
Instead, the snare should simply feel larger.
Mute the reverb return.
If the drum suddenly feels noticeably smaller, you’re probably in the right territory.
7. Create Huge Snare Transitions
Now do the opposite.
Instead of subtle reverb, create an exaggerated EMT 250 effect.
Take the final snare before a chorus.
Automate a large amount of reverb onto that single hit.
Try:
Decay: 3–5 seconds
Let the tail wash into the next section.
You can even reverse or filter the resulting reverb if you want something more dramatic.
This creates a transition without needing another riser or FX sample.
And because the effect originated from an element already in the song, the transition naturally feels connected to the production.
8. Add Space to Electric Piano
Electric piano is everywhere in R&B.
Rhodes-style keys can sound beautiful dry, but the right reverb can transform a simple chord progression into an atmosphere.
Try:
Decay: 2–4 seconds
Predelay: 20–50 ms
High-frequency decay: reduced
Send: moderate
Play a simple seventh or ninth chord progression.
Listen to how the reverb fills the spaces between chords.
This is especially powerful in sparse productions.
Instead of adding another pad, let the reverb become the pad.
That’s an important production concept.
Sometimes you don’t need another instrument.
You simply need more environment around the instruments you already have.
9. Turn Simple Synths Into Atmospheres
The EMT 250 can work beautifully on pads, bells, plucks, and analog-style synths.
Try taking a relatively basic synth patch and applying a long EMT 250 reverb.
For example:
Synth pad → EMT 250
Use:
Decay: 3–5 seconds
Predelay: 20–40 ms
High-frequency decay: moderately dark
Now lower the original synth in the arrangement.
You may find that the reverb tail itself creates most of the texture.
This can be especially useful when producing atmospheric R&B or Trap Soul because it helps you create a large sound without overcrowding the arrangement.
10. Put Reverb on Samples Without Creating Mud
Samples can be tricky.
A sample might already contain ambience from the original recording.
Adding another large reverb can quickly create mud.
So start small.
Use a relatively short EMT 250 setting:
Decay: 0.8–1.5 seconds
Send: very low
You’re simply trying to place the sample into the same environment as the rest of your production.
For chopped samples, however, you can get more creative.
Apply a longer EMT 250 tail to the final chop of a phrase.
The reverb fills the silence between phrases and can make the sample feel less abrupt.
11. Use Chorus for R&B Keys and Pads
Don’t forget that the EMT 250 offers more than reverb.
Switch into Chorus mode.
Try it on:
- Electric piano
- Pads
- Clean guitars
- Background vocals
- Synths
Blend the effect subtly.
The goal isn’t necessarily an obvious chorus sound.
You’re looking for slight movement and width.
On electric piano, especially, subtle modulation can transform a static chord progression into something much richer.
You can then send that modulated sound into another reverb if you want an even larger texture.
12. Use Phase to Transform Loops
Phase mode can be excellent for producers working with loops.
Duplicate a melodic loop.
Put the EMT 250 in Phase mode on the duplicate.
Blend the processed track underneath the original.
Suddenly you’ve created additional movement without fundamentally changing the musical idea.
You can also automate the effect during certain sections.
For example:
Verse: Dry sample
Pre-Chorus: Phase begins appearing
Chorus: Full sample + additional instrumentation
Effects become part of your arrangement rather than simply part of your mix.
13. Use Echo for Vocal Throws
Echo mode gives you another creative option for vocals.
Instead of placing delay across the entire performance, automate it onto individual words.
Take the final word of a line and send it into the EMT 250’s Echo effect.
The repeated phrase can fill the space before the next vocal line.
This is especially useful in sparse R&B arrangements.
You can also follow the echo with reverb to make each repeat move farther into the background.
That creates the classic sensation of the vocal disappearing into space.
14. Use Space Mode for Ear Candy
Space mode is where you can experiment.
Don’t necessarily think of it as something that needs to run throughout the entire song.
Use it for moments.
Try applying it to:
- Vocal ad-libs
- Reversed vocals
- Synth effects
- Percussion
- Sample chops
- Intro textures
- Outro textures
Automate it into the mix for a few seconds.
Then remove it.
Those little changes keep relatively repetitive Hip Hop arrangements interesting.
15. Automate Reverb Between Sections
One of the biggest mistakes producers make with reverb is setting it once and leaving it there.
Your reverb can become part of the arrangement.
Imagine an R&B track structured like this:
Verse: relatively dry
Pre-Chorus: slightly more reverb
Chorus: larger reverb
Verse 2: dry again
Bridge: huge atmospheric reverb
Final Chorus: full ambience
You’re changing the perceived size of the record.
The chorus literally feels like the room became bigger.
Automating your EMT 250 sends can therefore create contrast even when the instrumentation doesn’t change dramatically.
16. Don’t Put EMT 250 Everywhere
Once you find a reverb you love, there’s a temptation to put it on everything.
Don’t.
If every instrument has a massive reverb tail, nothing feels deep because everything occupies the same depth.
Instead, think in layers.
Front
Keep these relatively dry:
- Kick
- 808
- Lead vocal
- Important percussion
Middle
Use moderate ambience:
- Snare
- Clap
- Keys
- Main melodies
Back
Use heavier ambience:
- Pads
- Background vocals
- Ad-libs
- Atmospheric synths
- Ear candy
Now you’re using the EMT 250 to create front-to-back dimension.
That’s much more powerful than simply “adding reverb.”
17. Keep Reverb Away From Your 808
Be especially careful with your low end.
Long reverb tails on an 808 can destroy the clarity and punch of a Hip Hop mix.
In most situations, keep the 808 relatively dry.
If you want ambience around the bass, try sending only higher-frequency information into the reverb or create a separate processed layer.
The kick should generally remain dry as well.
Your low end provides the foundation.
Let other instruments create the environment around it.
18. EQ the Reverb Return
Even when the reverb itself sounds great, it may still occupy frequencies you don’t need.
If you’re running the EMT 250 on an aux channel, place an EQ after it.
A useful chain might be:
EMT 250 → EQ
High-pass some low-frequency information from the reverb return.
You might start somewhere around 150–300 Hz, depending on the source.
Then listen.
Don’t automatically remove everything below a particular frequency just because somebody told you to.
The goal is simply to stop unnecessary low-frequency reverb from competing with your kick and 808.
You can also gently reduce high frequencies if you want an even darker ambience.
19. Duck the Reverb Behind Vocals
Here’s another powerful modern technique.
Create this chain:
EMT 250 → Compressor
Sidechain the compressor from your lead vocal.
While the singer is performing, the compressor pushes the reverb down slightly.
When the vocal stops, the compressor releases and the reverb comes forward.
You get:
Clear vocal while singing → beautiful reverb between phrases.
This allows you to use considerably more ambience without drowning the vocal.
It’s an excellent combination of vintage reverb character and modern mixing technique.
A Simple EMT 250 Hip Hop & R&B Template
If you want to incorporate the EMT 250 into your default mixing workflow, you don’t need dozens of instances.
Start with three sends.
AUX 1 — Short EMT 250
Use for:
Snare, clap, percussion and subtle instrument ambience.
Decay: roughly 0.5–1.2 seconds
AUX 2 — Vocal EMT 250
Use for:
Lead vocals and selected melodic elements.
Decay: roughly 1.5–2.5 seconds
Predelay: roughly 40–80 ms
AUX 3 — Long EMT 250
Use for:
Background vocals, ad-libs, pads, transitions and atmospheric effects.
Decay: roughly 3–5 seconds
Now you have three different depth zones available from the same reverb.
Final Thoughts
The UAD EMT 250 might be based on one of the earliest digital reverbs ever created, but that doesn’t mean its usefulness is limited to vintage music.
Quite the opposite.
Its smooth, character-filled ambience fits surprisingly well into modern Hip Hop and R&B production.
The key is not treating it as an effect that simply makes things “wet.”
Use it to create depth.
Use predelay to keep your lead vocal forward.
Use longer decay times to push background vocals behind it.
Use short reverbs to give snares dimension.
Use darker tails around electric pianos and synths.
Use Echo, Chorus, Phase, and Space for movement.
And most importantly, automate it.
When the EMT 250 becomes part of your arrangement rather than something you simply throw onto every track, it can help turn a relatively simple production into a mix that feels deep, atmospheric, and polished.
For Hip Hop and R&B producers, that’s where this classic processor really earns its place in a modern plugin collection.
Recommended Next Step
If you’re considering adding it to your setup, read our Universal Audio EMT 250 Review for a closer look at the plugin’s sound, features, strengths, weaknesses, and overall value.
Check the current price and availability of the UAD EMT 250 at Plugin Boutique.
Disclosure: This article may contain affiliate links. If you purchase through one of these links, Pluginera may earn a commission at no additional cost to you.