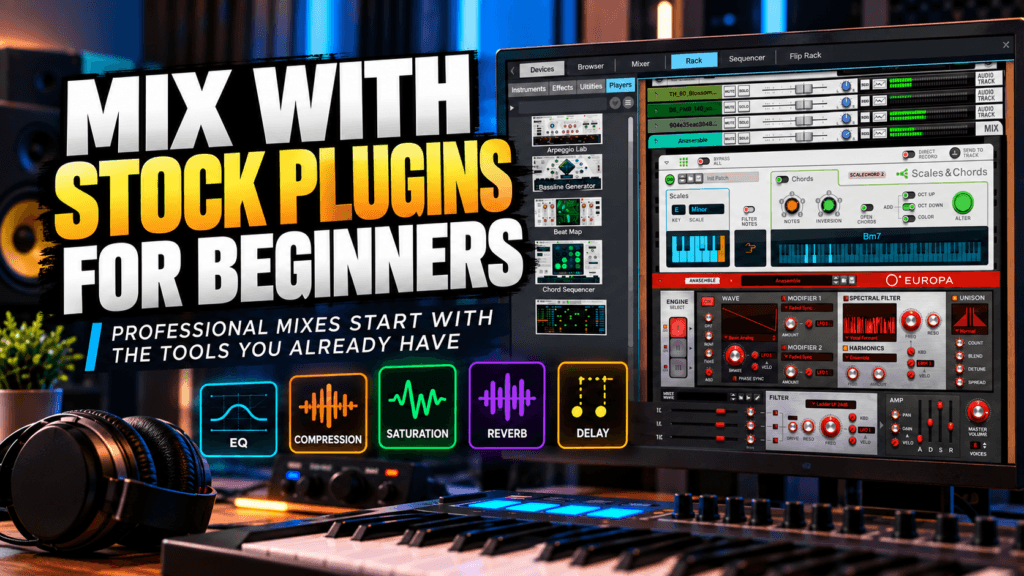
 Mix With Stock Plugins For Beginners: A Complete Guide
If you’re learning how to mix music, it’s easy to believe that professional mixes require expensive plugins.
You watch producers on YouTube using premium EQs, vintage compressor emulations, analog saturation plugins, and mastering suites that can cost hundreds of dollars. Before long, you may start wondering whether the plugins included with your DAW are holding you back.
They probably aren’t.
For a beginner, learning to mix with stock plugins may actually be one of the best ways to improve.
Most modern DAWs already give you the essential tools you need to build a solid mix: EQ, compression, reverb, delay, saturation, limiting, utility plugins, and more.
The bigger challenge isn’t getting more plugins.
It’s learning what to do with the ones you already have.
In this beginner’s guide, we’ll walk through a simple stock-plugin mixing workflow and, more importantly, explain why you would reach for each processor.
What Are Stock Plugins?
Stock plugins are the effects and processors included with your DAW.
Depending on the software you use, this might include:
- EQ
- Compressor
- Reverb
- Delay
- Saturation or distortion
- Chorus
- Gate
- Limiter
- Utility and gain controls
DAWs such as Reason, Ableton Live, FL Studio, Logic Pro, Cubase, Studio One, and others provide their own collections of mixing tools.
The interfaces and features vary, but the underlying concepts remain largely the same.
An EQ included with your DAW can still reduce an unwanted frequency.
A stock compressor can still control dynamics.
A stock reverb can still create depth.
A stock delay can still create space and movement.
That means you don’t need to wait until you own an expensive plugin collection before learning how to mix.
Can You Get a Professional Mix With Stock Plugins?
Yes.
But there’s an important distinction to make.
Owning professional-quality tools doesn’t automatically create a professional-quality mix.
The person using the tools still has to make the decisions.
A beginner with dozens of expensive plugins can easily struggle against someone who understands balance, EQ, compression, dynamics, and space while using nothing but stock effects.
That’s because mixing is primarily about decision-making.
You have to recognize what the mix needs and choose the appropriate tool to solve that problem.
Learning to mix with stock plugins forces you to develop those skills.
Step 1: Start With Balance Before Adding Plugins
One of the easiest beginner mistakes is inserting plugins before establishing a good static mix.
Don’t start with EQ.
Don’t start with compression.
Start with volume.
Play the entire song and adjust your channel faders until the instruments sit together reasonably well.
Ask yourself:
Can I hear the important elements?
Is the vocal overpowering everything?
Are the drums buried?
Is the bass dominating the track?
Does one instrument disappear when the entire arrangement plays?
You may be surprised by how much better a track sounds simply by balancing the levels.
Plugins should help improve the balance you’ve created — not replace it.
Step 2: Make Sure Your Levels Aren’t Clipping
Before getting deep into processing, check your levels.
In digital audio, 0 dBFS represents the digital ceiling. You don’t need every individual track pushed anywhere near it.
Leaving headroom gives you room to work as multiple tracks combine at the master bus.
If an instrument is coming into your processing chain extremely hot, consider reducing its source or input gain rather than immediately pulling down the channel fader.
This distinction becomes important once you start using compressors, saturation, distortion, and other level-dependent processors.
Changing the level before a compressor can change how hard the compressor works.
Changing the fader after the compressor usually changes the level you hear without changing how much compression is occurring.
Understanding that signal flow is far more valuable than owning another compressor.
Step 3: Use Stock EQ to Create Space
Once your levels are balanced, listen for frequency conflicts.
Maybe the piano and vocal feel crowded.
Maybe the bass and kick are fighting each other.
Maybe a synth has too much low-mid energy.
This is where EQ becomes useful.
Instead of thinking:
“What EQ settings should I use?”
Ask:
“What problem am I trying to solve?”
That simple question can completely change the way you mix.
Don’t High-Pass Everything Automatically
A common beginner mixing tip is to high-pass every instrument except the kick and bass.
Be careful with rules like this.
High-pass filtering can be extremely useful when unwanted low-frequency information is creating problems, but automatically removing frequencies from every track can also make your mix sound thin.
Listen first.
Then process.
If the low frequencies aren’t causing a problem, you may not need to remove them.
Cut Frequencies in Context
Soloing an instrument can help you identify certain problems, but your final EQ decisions should usually make sense within the full mix.
A piano might sound beautiful by itself while occupying too much space when the vocal enters.
In that situation, the goal isn’t necessarily to create the world’s greatest solo piano tone.
The goal is to make the piano work with the record.
Step 4: Use Compression to Control Dynamics
Compression can seem complicated when you’re first learning to mix.
Threshold.
Ratio.
Attack.
Release.
Knee.
Makeup gain.
That’s a lot of controls.
But the basic concept is much simpler.
A compressor helps you control the dynamic range of a signal.
Imagine a piano performance where some notes jump out while others disappear.
Compression can help reduce those differences.
Threshold
The threshold determines when the compressor begins reacting to the signal.
Lowering the threshold generally causes more of the signal to cross into the compression range.
Ratio
The ratio determines how strongly the compressor responds once the signal passes the threshold.
A 2:1 ratio provides gentler compression than a 4:1 ratio, assuming the other relevant conditions remain comparable.
Attack
Attack determines how quickly compression reacts.
A faster attack can clamp down on the initial transient of something like a snare.
A slower attack can allow more of that initial hit through before compression takes effect.
This can dramatically change how punchy your drums feel.
Release
Release determines how quickly the compressor stops reducing gain after the signal falls back below the threshold.
A fast release can make drums feel lively and energetic.
A slower release may create a smoother or more controlled feeling.
Neither is automatically better.
Listen to what works for the song.
Makeup Gain
Compression often reduces the overall level of the signal.
Makeup or output gain lets you compensate for that reduction.
When comparing compressed and uncompressed versions, try to keep their perceived loudness reasonably close.
Otherwise, you may simply choose the louder version because louder often sounds more impressive.
Step 5: Add Reverb for Depth
Once your levels, frequencies, and dynamics are under control, you can start thinking about depth.
Reverb can make sounds feel like they’re occupying a physical space.
But beginners often use too much.
Instead of inserting a giant reverb on every instrument, try creating a reverb send or auxiliary channel.
Send multiple instruments to the same reverb.
This can help different elements feel like they exist within the same environment while giving you control over how much reverb each instrument receives.
Short reverbs can create subtle space.
Long reverbs can create atmosphere.
Neither needs to completely wash out the original sound.
Step 6: Use Delay for Space Without Washing Out the Mix
Delay can sometimes create space while maintaining more clarity than a large reverb.
Try using delay on:
- Vocals
- Synth leads
- Guitars
- Piano melodies
- Ad-libs
- Transitional sounds
You can also filter the delayed signal so it doesn’t compete heavily with the original source.
For Hip Hop and R&B especially, subtle delays can create movement without pushing the sound too far into the background.
Step 7: Use Saturation When the Mix Needs Character
Saturation introduces harmonic content and can make sounds feel warmer, thicker, more aggressive, or more present.
But saturation shouldn’t automatically be inserted on everything.
Ask yourself whether the sound actually needs additional character.
If your DAW includes a stock saturation, distortion, tape, tube, or overdrive effect, experiment with small amounts.
Try it on drums.
Try it on bass.
Try it on synths.
Then bypass it.
Does the processed version actually improve the mix?
That’s the habit you want to develop.
Step 8: Use Automation Instead of Trying to Fix Everything With Plugins
Sometimes a problem only happens during one section of the song.
You don’t necessarily need another plugin.
You might need automation.
For example, suppose a piano sounds perfect during the verse but masks the vocal when larger chords appear during the chorus.
You could automate its volume.
You could automate an EQ band.
You could automate an effect send.
The key is recognizing that mixing doesn’t always require one static setting for the entire song.
Your mix can move with the arrangement.
Step 9: Check Your Mix at Low Volume
Turn your monitoring level down.
Way down.
Now listen again.
What disappears?
What suddenly feels too loud?
Maybe the vocal dominates.
Maybe the bass vanishes.
Maybe the snare becomes much louder than you realized.
Low-volume listening can expose balance problems that weren’t obvious when the track was loud and exciting.
You can also check your mix on headphones, speakers, your phone, or in your car.
The goal isn’t to make the mix identical everywhere.
The goal is to identify major translation problems.
A Simple Stock Plugin Mixing Chain for Beginners
You don’t need a complicated chain.
For many tracks, your processing might be as simple as:
Gain → EQ → Compression → Saturation → Fader
And you don’t necessarily need every processor.
Your piano might only need EQ.
Your bass might need compression and saturation.
Your snare might need nothing at all.
That’s completely fine.
Don’t use a plugin simply because you think a “professional” mixing chain is supposed to contain it.
Every plugin should have a purpose.
The Biggest Beginner Mixing Mistake: Processing Without a Reason
Before inserting any plugin, ask yourself:
What am I trying to change?
If you can’t answer that question, don’t add the plugin yet.
Instead, listen again.
Maybe the vocal is too loud.
That’s a fader problem.
Maybe the piano masks the vocal.
That could be an EQ or arrangement problem.
Maybe the snare lacks punch.
That might involve compression, transient shaping, saturation, sound selection, or simply turning it up.
Maybe nothing is wrong.
Then leave it alone.
That last option is one beginners often forget.
Stock Plugins Can Actually Help You Learn Faster
Limiting your plugin choices can be surprisingly helpful.
When you have 30 compressors, you can spend more time deciding which compressor to use than learning compression.
When you have one stock compressor, you start learning what the controls actually do.
You hear what happens when you change the attack.
You hear how release changes groove.
You understand what lowering the threshold does.
Eventually, those skills transfer to almost any compressor you open.
The same applies to EQ, reverb, delay, saturation, and other processors.
Learn the concept first.
The plugin comes second.
When Should You Buy Third-Party Plugins?
Third-party plugins can absolutely be worth buying.
Some provide workflows, features, sounds, visual feedback, analog modeling, or specialized processing that your stock collection doesn’t offer.
But there’s a major difference between buying a plugin because you understand what it provides and buying one because you believe your music can’t sound professional without it.
Before purchasing something new, ask:
What can this plugin help me accomplish that I’m struggling to accomplish with the tools I already own?
If you have a specific answer, you can make a much more informed buying decision.
If your answer is simply, “Everybody on YouTube uses it,” keep learning.
Final Thoughts: Learn Mixing Before Collecting Mixing Plugins
If you’re a beginner, you already have one of the best mixing classrooms available:
Open a session.
Balance the faders.
Listen for masking.
Experiment with EQ.
Compress a snare and change the attack.
Adjust the release and listen to the groove.
Level-match the processed and unprocessed versions.
Add a little reverb.
Automate something.
Then bypass your processing and ask yourself whether you actually made the song better.
That’s how you learn to mix.
Premium plugins can be fantastic tools, and eventually you may find plenty that improve your workflow.
But they aren’t the admission price for making good music.
Start with what you have.
Learn why you’re reaching for each tool.
And remember:
Nope. You’re ready. Let’s make something.